Showing posts with label KB. Show all posts

Tuesday, March 6, 2012

True Comfort: Chicken and Dumplings

My dad had his gall bladder out this morning, but before he even went to bed last night he announced his desire to have chicken and dumplings for dinner tonight. Seeing as how he doesn't often make special requests, and he did just undergo major surgery and all, I felt the need to oblige him.

Forget gnocchi, these are the true heavenly pillows

Chicken and dumplings is a very special meal to me, and has a lot of great memories associated with it. My grandfather would keep us over the summers, and he would make the most awesome chicken and dumplings and add a little cayenne pepper to it, which I fell in love with. I also can't help but recall my first real failure in the kitchen, when a batch of dumplings dissolved into the broth instead of floating up like happy little clouds.

I'm happy to say that I've got the recipe down pat now, and I feel the need to post it, if only for posterity. It's excellent comfort food, extremely inexpensive to make (under $5), and really, who doesn't love chicken and dumplings?

KB learned how to use a peeler today, plus some basic knife skills.

The amounts needed for dumplings are a rough estimate. Sometimes you want a lot of dumplings, sometimes just a few. This kind of dough is difficult to quantify, because every batch is different. As long as you get it to the point where it won't accept any more flour without falling apart, you're golden. Also, using minimal water means that you'll get a lovely, rich broth. If you want to stretch it a bit, you can add more water and use a taller stockpot. I made this batch in a 3-qt pot, but it's pretty common to see it made in larger stock pots.

Chicken and Dumplings

Meat and broth:
  • 1 whole chicken (about 3 lbs)
  • 3 carrots, sliced
  • 2 stalks celery, chopped
  • 1/2 onion, diced 
  • 1 tbsp garlic powder 
  • salt
  • black pepper
For the dumplings:
  • 5-6 cups self-rising flour
  • 1-1.5 cups lard
  • 3-4 tablespoons buttermilk (plain milk or chicken broth will do)
Place chicken and vegetables in a pot just large enough to fit it all, and cover with water. Add salt and pepper to taste. Simmer until the chicken is cooked (flip it if necessary), then remove the chicken from the broth and let cool. Pick the meat from the bone and add back to the broth. Add additional salt if necessary. The broth should be flavorful but not heavily salty, as the dumplings will also be slightly salty.

To make dumplings, cut the lard into about 2/3 of the flour until it is well integrated and crumbly. Work the milk into the mixture until the dough reaches a tacky consistency, then add more flour and mix in. Continue working in additional flour until the dough can't accept any more without becoming a crumbly mess - it should still be pliable enough to press into a ball.

Bring the broth up to a rolling boil, and drop dumplings in one at a time. The dumplings will float to the top when they're cooked. Remove from heat (or turn heat to low) and serve.

Total cook/prep time: 1 hour
Happiness rating: 10/10

Wednesday, February 15, 2012

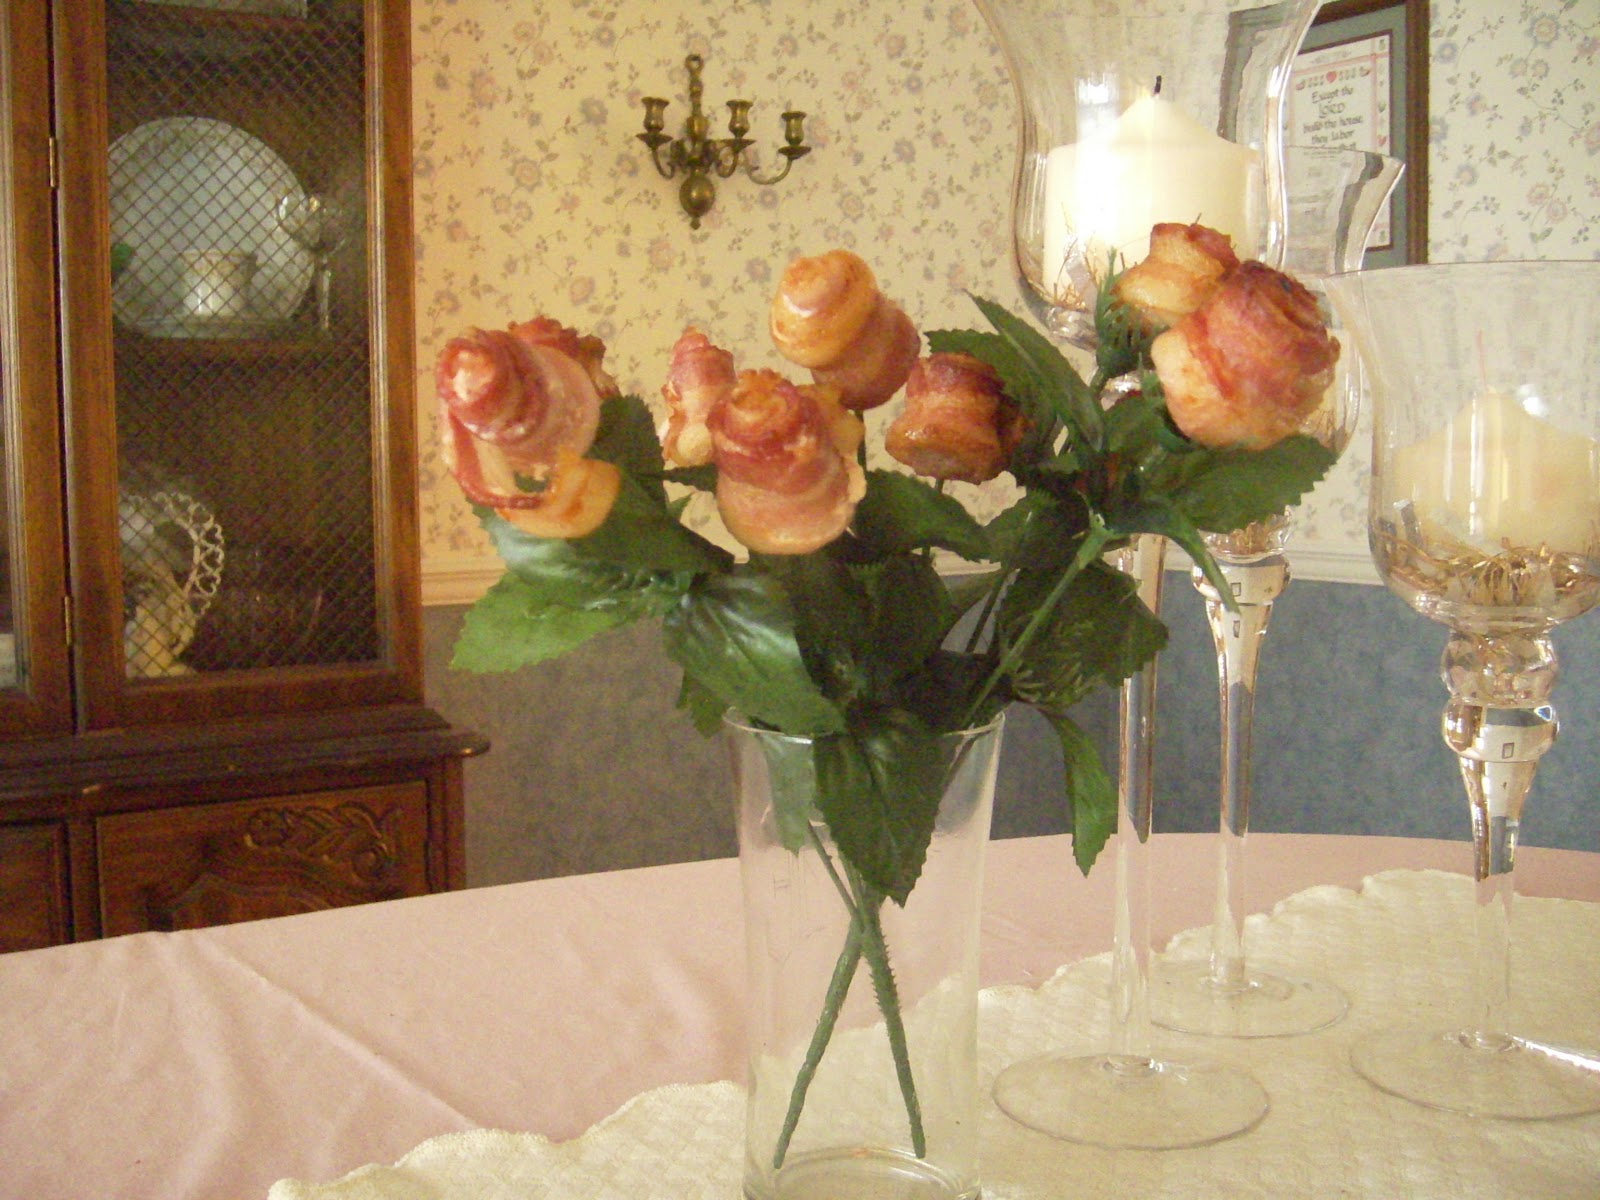
Bacon Roses!

Pretty!

KB's wanted to make bacon roses with me ever since I came across the instructable last year. For Valentine's day, I decided to oblige her, and to complete the Valentine's day themed cooking and bacon challenges. There really isn't much need for a long and detailed explanation of what was done, since there's already an excellent guide out there, so I'll let the pictures do the talking.


Who needs a drill and real pans? Disposable works well. So does a phillips-head screwdriver.

13 strips of bacon to a pack... 12 cups. Challenge accepted.

Baking complete. A little cooling, and then they're ready to stem.

KB is in her tweenie years, which means she is physically incapable of expressing excitement. Ah well.

Overall, a fun project, and one I'll likely do again. I mean, it's BACON, and it isn't overcooked and crunchy and gross. Soft, perfect, pretty bacon is the way to go.

Total prep/cook time: 1 hour, including all the time it took to prep the silk flower stems.
Happiness rating: 12/10. Om nom nom.

Sunday, January 29, 2012

Kool-aid dyed yarn!

A few weeks ago, when it was actually cold, I loaned KB my felted slippers and offered to make her a pair. The thing is, the only colored yarns I have on hand anymore are in small supply, or in 'girly' colors that she's grown out of. However, I had four skeins of Lion Wool (100% wool, worsted weight) in a natural 'Winter White' color on hand, which I had purchased for the specific purpose of Kool-aid dyeing. I also had plenty of different colors of Kool-aid on hand, which I'd purchased for some tie-dyeing that never quite happened last summer due to the weather and her friend AB's schedule.

The process itself is pretty simple, and can be found just about anywhere online. We took two chairs and set them on either end of the dining room, and KB wrapped two skeins of yarn around them, creating one really long skein. AB did the same with two more skeins. Each of them used rubber bands to tie off where they wanted the color changes to go, and we set them to the side for the next time she could come over.

AB came back over today, and we got to work as BB's tea party was wrapping up - speaking of, it was absolutely adorable, and she and her friend had a great time. At any rate, we promptly got to work on mixing up Kool-aid in mason jars, and putting them into the pressure cooker, along with a couple inches of water.
Blue and green are the fashionable colors for tweenie girls these days.

Once they had mixed up all six jars, with one packet of mix each, we snipped the rubber bands off the yarn and started stuffing them into the jars.

Gotta make sure to dunk the yarn that won't fit into the jars in the dye, too, or you'll have white patches.

Then I turned on the stove and put the lid on. I used the pressure cooker because it's the only pot we have on hand that can fit six quart sized mason jars.

Notice that I didn't seal the lid down, or use the weight. It just needed to be near-boiling, then cool.

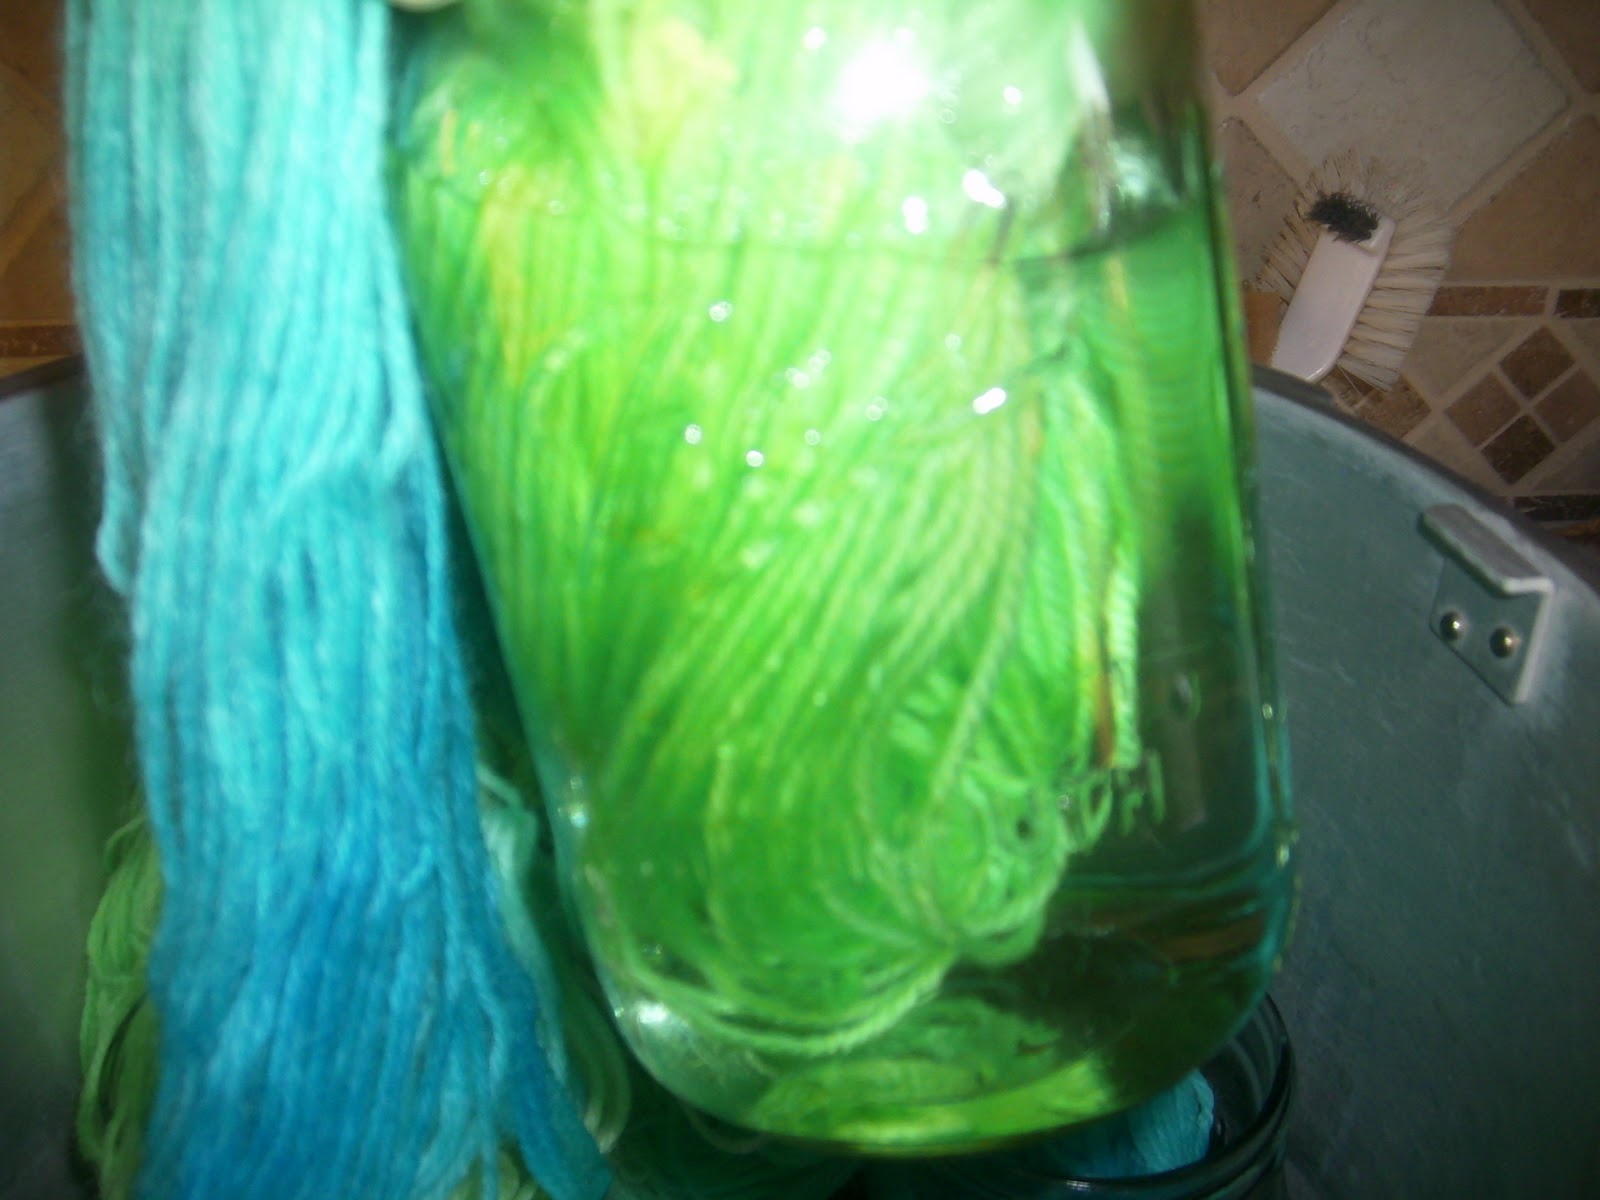
It took about 20 minutes for the water to get really hot, and then another half hour or so for enough of the dye to soak in to our satisfaction. Not all of the blue soaked in, but there was enough color saturation and lots of green saturation, and everyone was happy.

It's hard to tell from this picture, but the water was almost clear. The green color had been soaked into the yarn.

After all of that, the yarn went into the sink and was squeezed out, and first rinsed with hot water, then fairly warm water, then lukewarm water. Trying to cool it off too fast would've resulted in major shrinkage - and it's not time to felt the yarn just yet. After squeezing it out pretty thoroughly, the yarn got hung up on the back porch to drip for an hour or so.

The blue of the yarn almost matches the blue of the pool... almost.

As AB and KB were heading out for the day, I decided that I didn't want damp yarn to be left outdoors to freeze overnight, so I brought it back inside and hung it on the towel bar in my bathroom. Besides, it's much warmer inside, so hopefully that'll make it dry faster. I'm pretty anxious to wind this stuff into balls and get started on their slippers and whatever other projects they dream of for this yarn!

This picture doesn't do the colors justice. They're gorgeous.

It's just too pretty. I'm thinking of setting up a fan in there to nudge the drying process along.